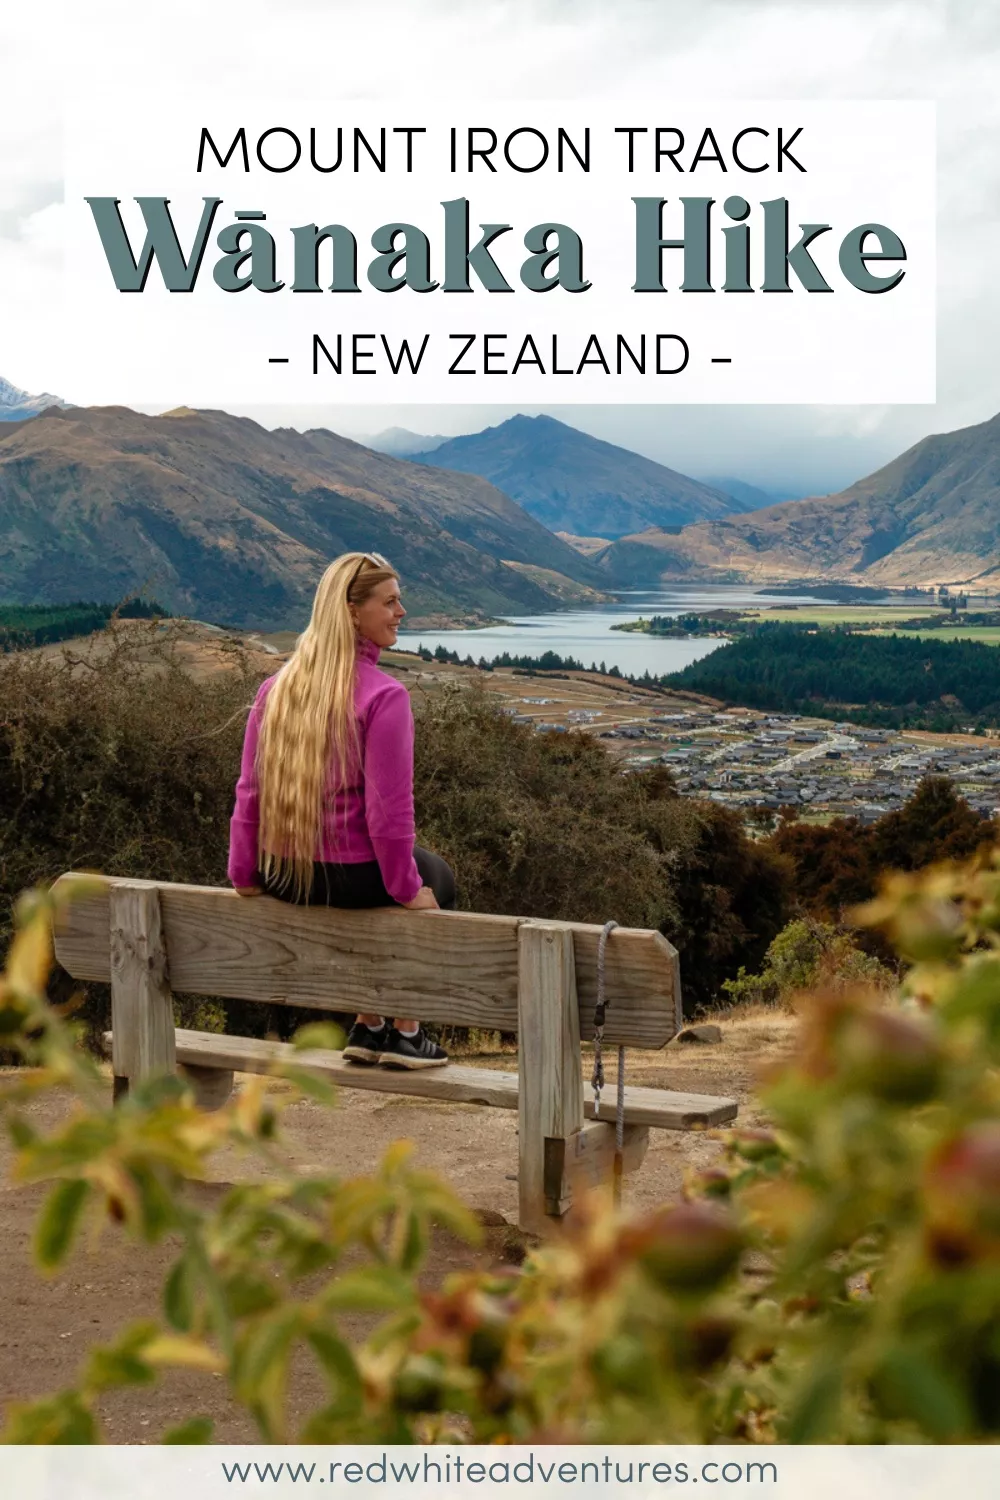
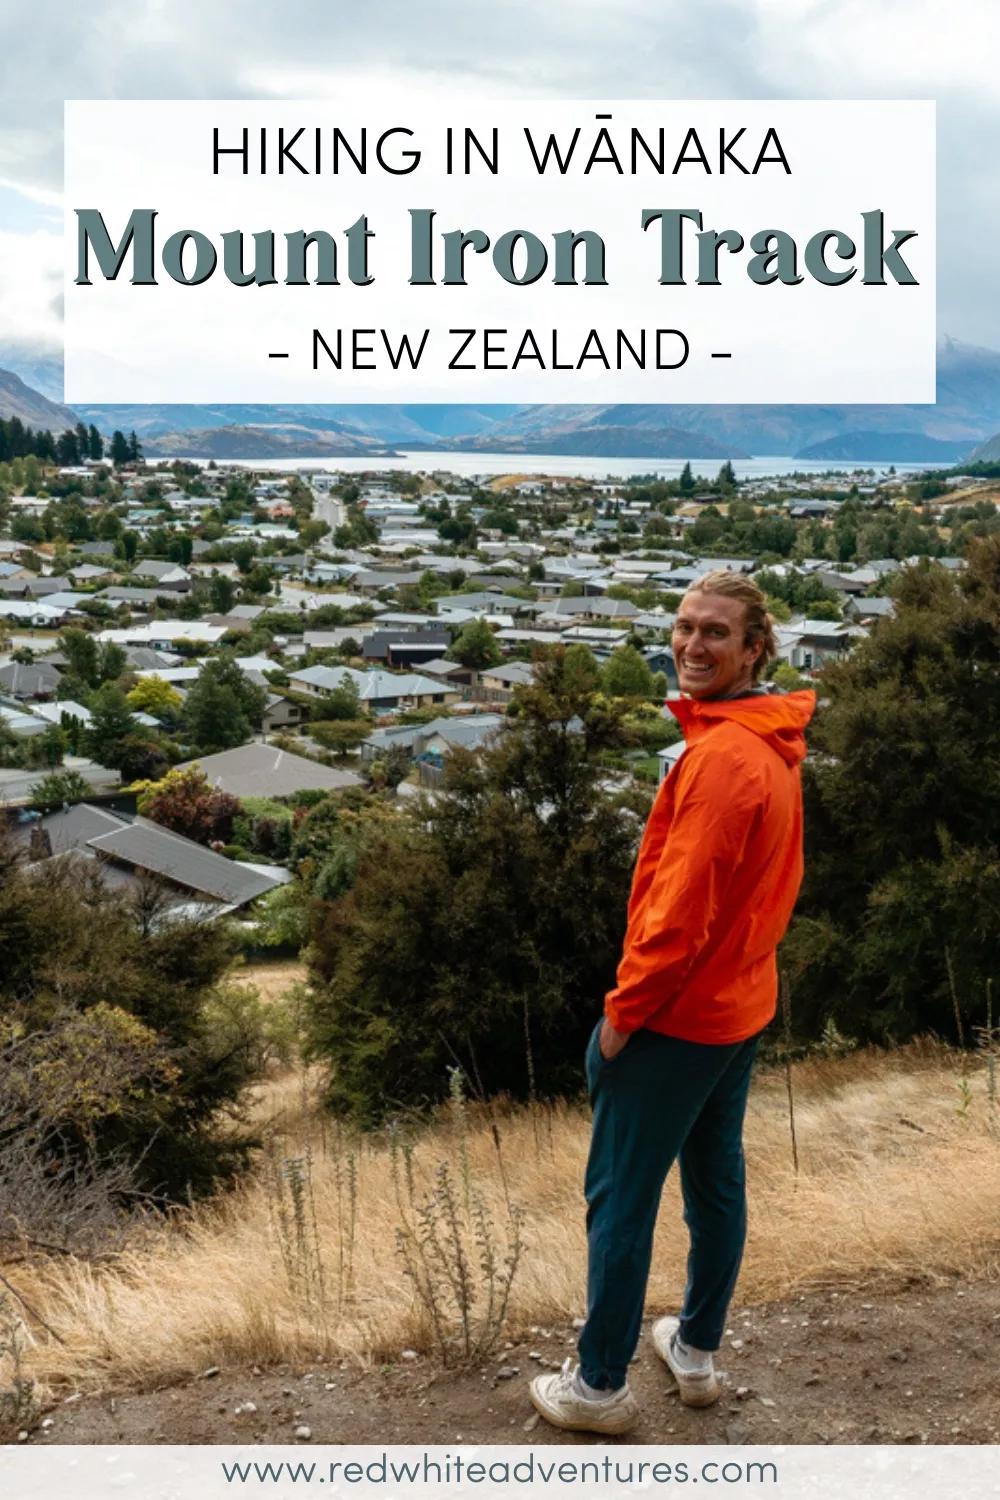
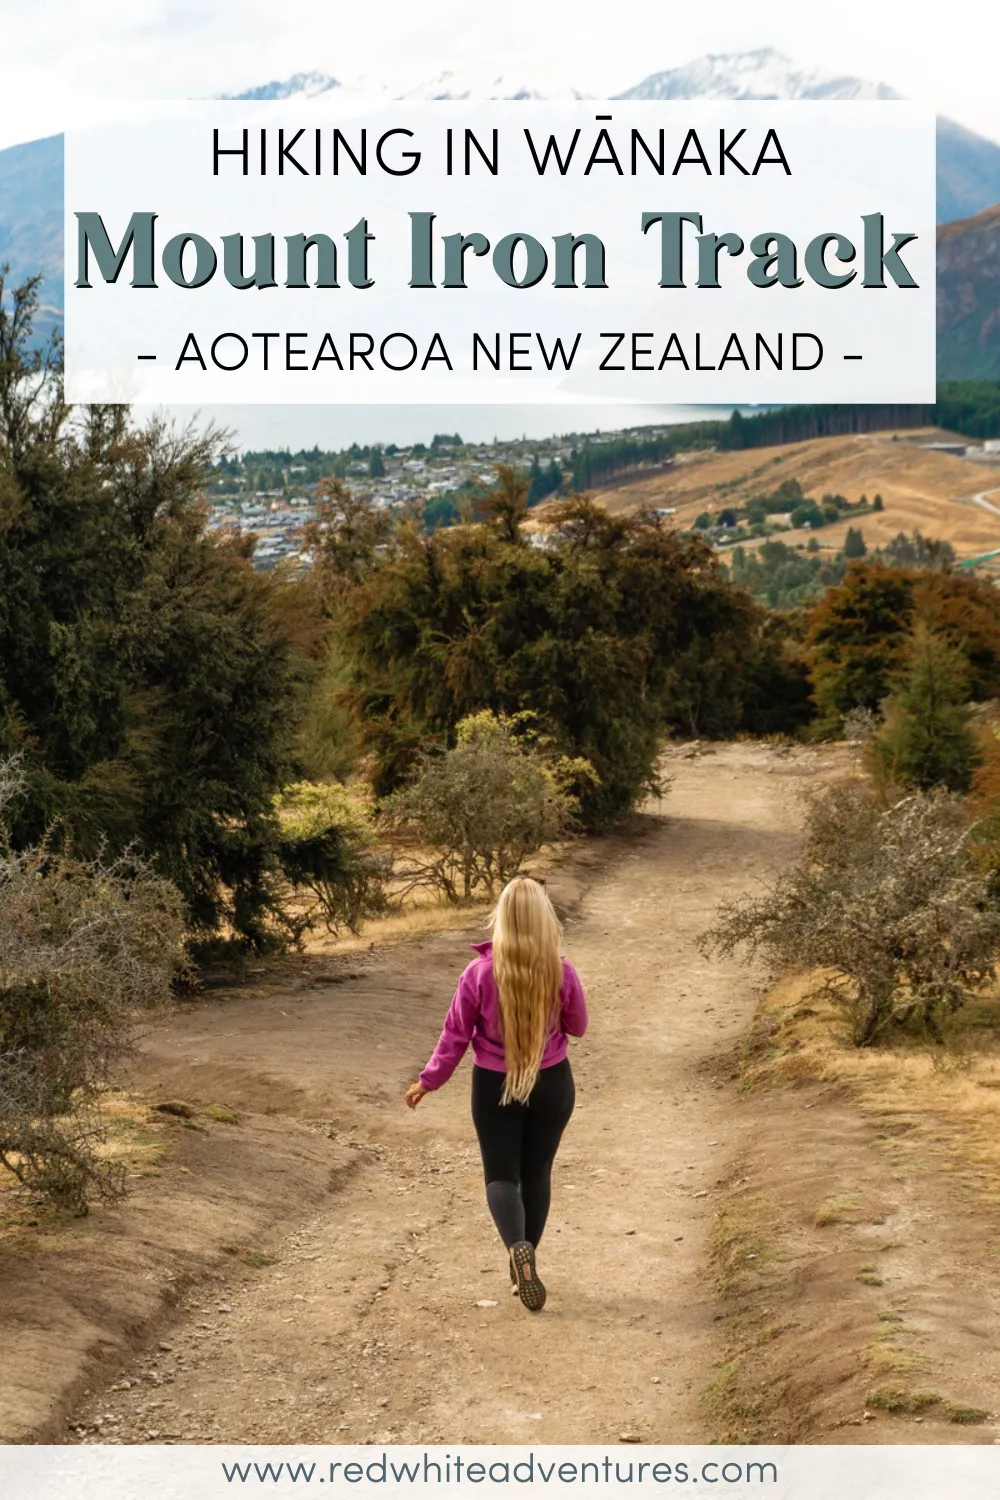
The Mount Iron Track in Wānaka is a locals’ favourite and definitely a hike worth doing when you visit this beautiful lake town on New Zealand’s south island!
Mount Iron is a glacier-carved rock summit located right next to the town centre that takes you roughly 250 meters above the town! After a short hike, you’ll be rewarded with incredible views overlooking the surrounding area.
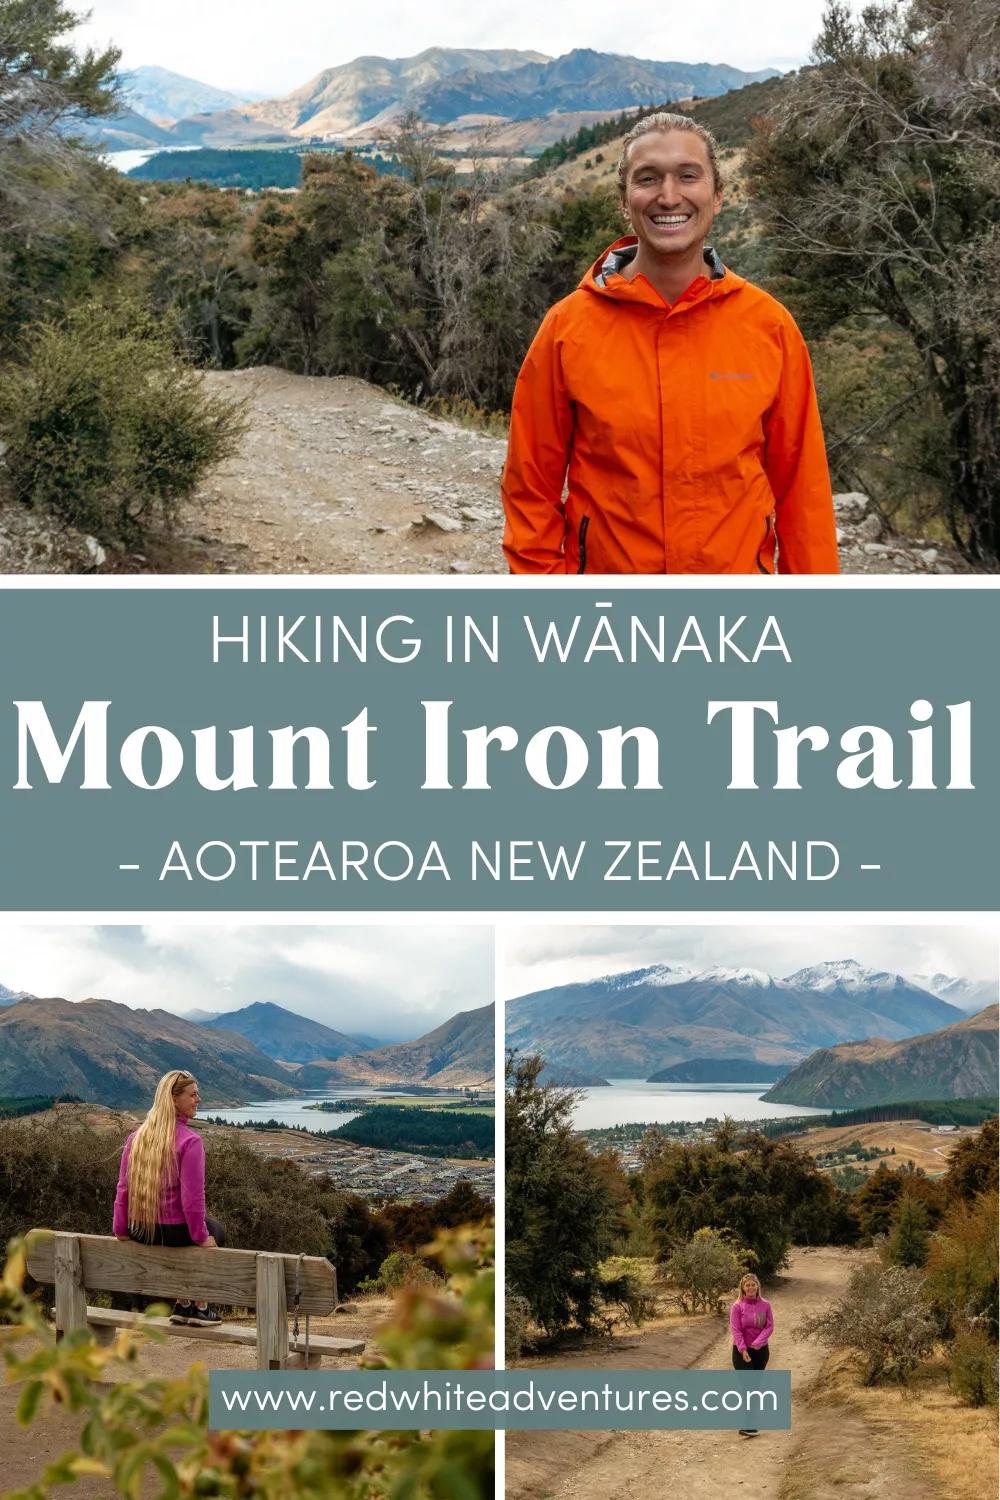
From the top, you can see both Lake Wanaka and Lake Hawea as well as the Cadrona Valley, Mt Aspiring National Park, and even the famous Roy’s Peak!
The name of the hike might sound intimidating but in reality, Mt Iron is really just a big hill that you can hike up in an hour or two.
Disclosure: This post contains affiliate links which means if you decide to use the links and make a valid purchase, we will receive a small commission at no additional cost to you. Thank you <3
Everything you need to know about Mount Iron Track in Wanaka
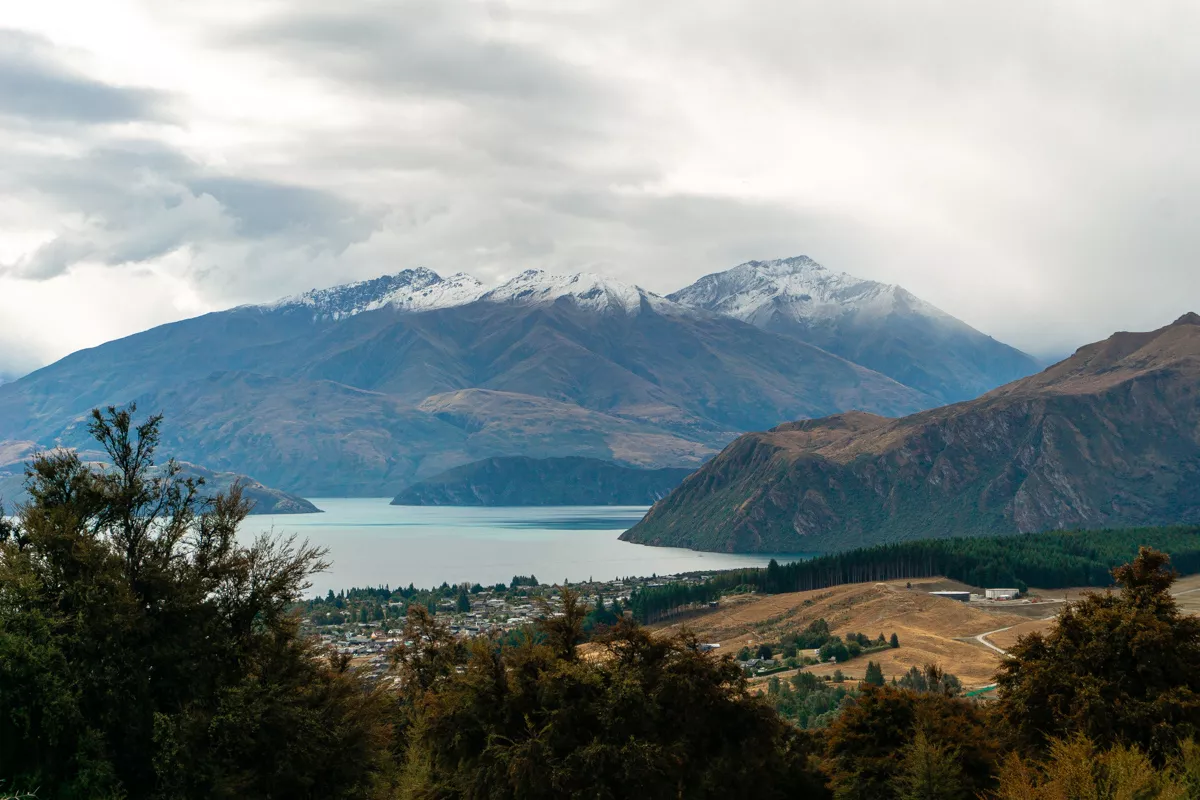
As we mentioned, Mt Iron is definitely a locals’ favourite. Every day you’ll see locals walking their dogs, trail running, or just going on a walk with some friends to enjoy the views.
It’s a relatively chill hike that can be done in 2 hours or less depending on the route you take.
Mt Iron can be done either as an in-and-out trail or as a full loop. The full loop is slightly longer but it offers more beautiful views and the second half of the stretch is less busy – so that’s a win in our books!
If you decide to do the full loop trail, we recommend that you hike the trail clockwise! That’s the way we did it and we found that it made the incline easier and the views were better.
This hike is also a great option for a fun sunrise or sunset hike if you’re feeling a little adventurous!
Most tourists and travellers that stay in Wanaka will do the famous Roy’s Peak for sunrise, but unless you feel like getting up at 2 am, we’d argue that Mt Iron is a great alternative!
This way, you can get 2-3 more hours of sleep and you’ll still get incredible views over Wanaka and the surrounding areas.
We actually ran up Mt Iron one evening during a full moon and it was quite the experience! The view from the top at night is pretty amazing as well!
Please note: The loop trail passes private land. Please keep to the track and be respectful of the land.
Practical information about Mount Iron Track Wanaka
Distance: 4.7 km return / 2.92 miles return
Elevation: 241 m / 790 ft. elevation gain
Type: Loop trail (can be done multiple ways)
Length: 1.5-2.5 hours return
Difficulty: Moderate (some elevation and stretches with uneven surface)
Rating: 4 out of 5 stars
PS: There are toilet facilities about 100 meters after the trailhead on the left-hand side.
Click here to see a trail map for Mount Iron Track Wanaka.
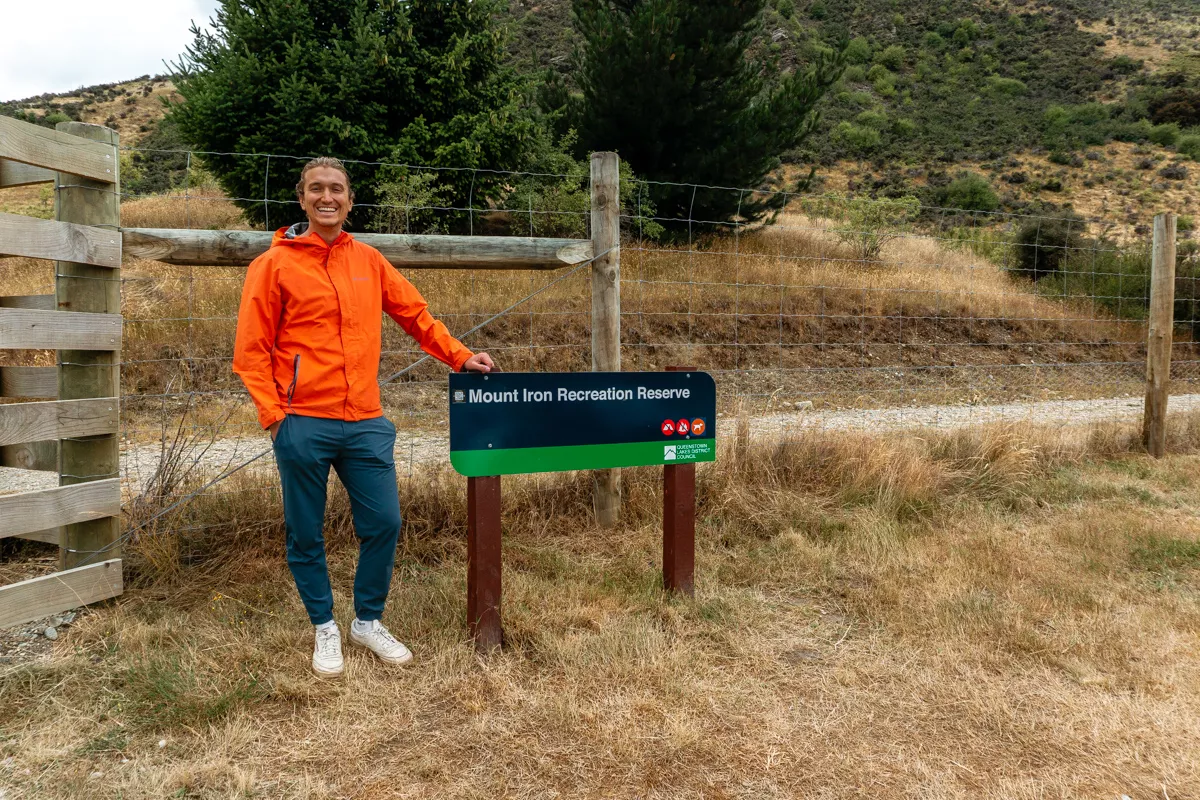
Here’s a picture of the beginning of the Mount Iron Track
Hiking Tip: Look up the trail on AllTrails before starting your hike 🗺️. You can find important trail information such as recent wildlife sights and trail closures. Check out the free version here or get a 7-day free trial of AllTrails+ here.
Starting the hike in the Mount Iron Track Car Park
The car park and starting point for Mt Iron is located just 1.1 kilometres down Highway 84 on the left-hand side right before you get to the roundabout.
Depending on where you’re staying, you can easily walk to the car park and trailhead – or you can park your car in the parking lot for free.
As of February 2024, Wanaka is currently building a little walk and bike path from Wanaka to the Mount Iron Track Car Park. This means that you can essentially walk from Wanaka to the trailhead if you don’t have a car.
Once you get to the car park, you’ll see the trailhead right in front by the sign and the fence. If you start here, you’ll end up doing the loop trail clockwise which is what we recommend.
The journey up to Mount Iron Peak
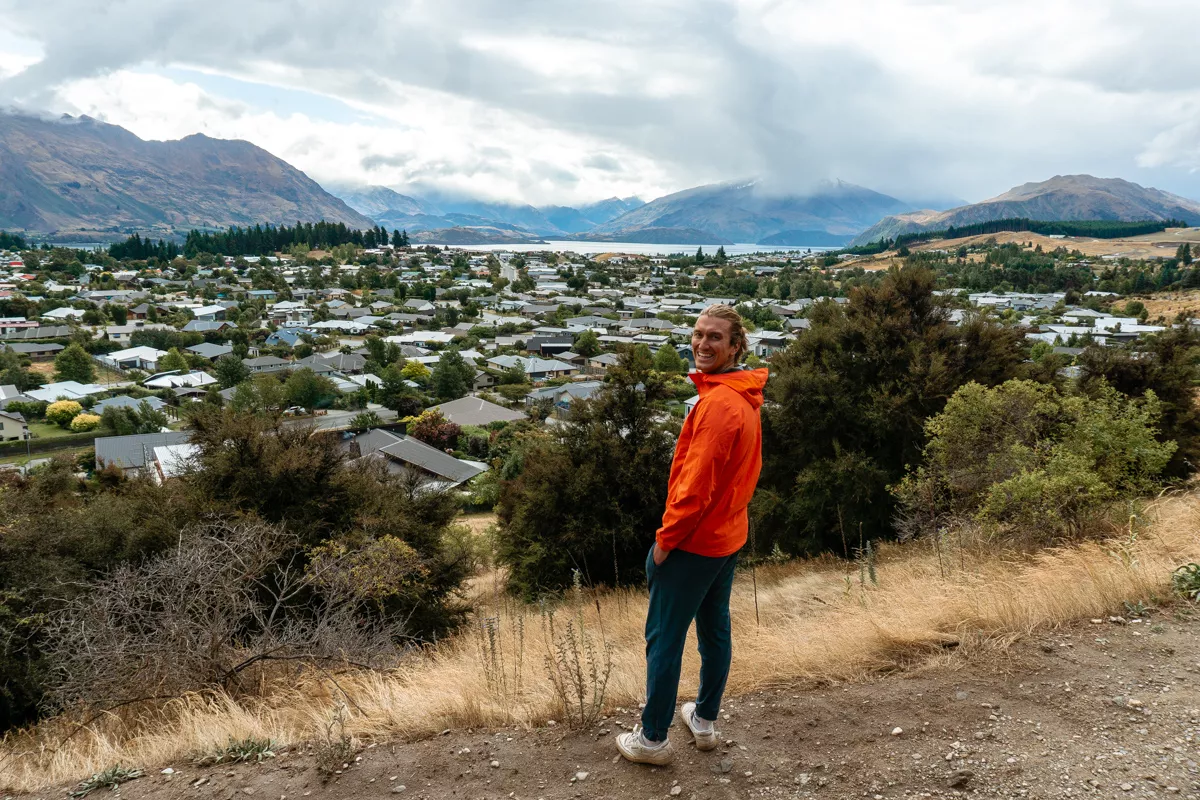
Maybe “journey” is a strong word as it really isn’t that big of a trek up to the peak. Yes, there is a bit of ascent at the beginning but honestly, you have awesome views the whole way up and lots of spots where you can stop and take it all in which makes the hike feel a lot easier.
This beginning of the trail goes past Allenby Park (where the restroom facilities are located) and then past some local houses below on the left. After a few minutes, it starts to zig-zag up and up as you make your way to the peak.
You very quickly gain elevation and Wanaka starts to distance itself. At the same time, Lake Wanaka and Lake Hawea start to show themselves and you can imagine how pretty the view is at the top!
The trail is super easy to follow and there are a few markers along the way. Once you reach the trees, you’ll get to a fork in the road. Once you get to the fork, we suggest you continue to the right. That’ll bring you to the peak the fastest.
👩🏼⚕️ Is your trip insured?
SafetyWing’s Nomad Insurance covers hiking and mountaineering up to 4500 meters 🏔️
View from the top of Mount Iron Track
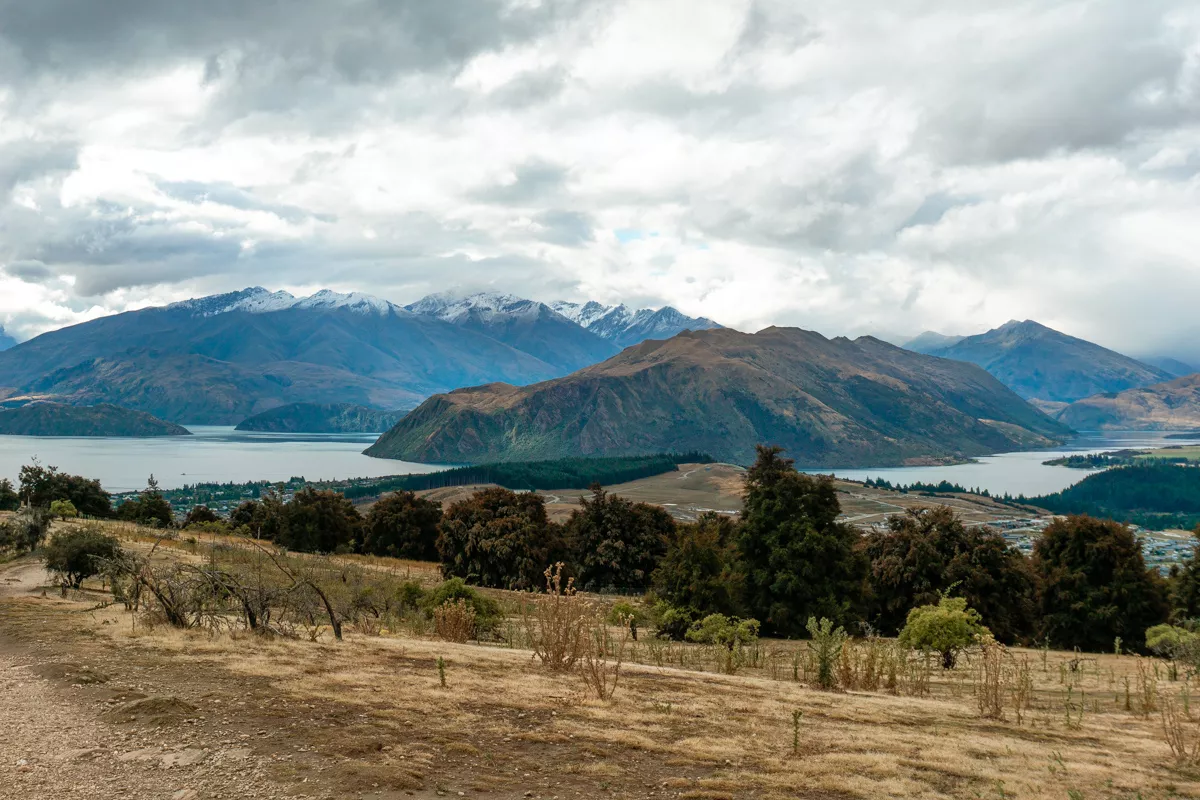
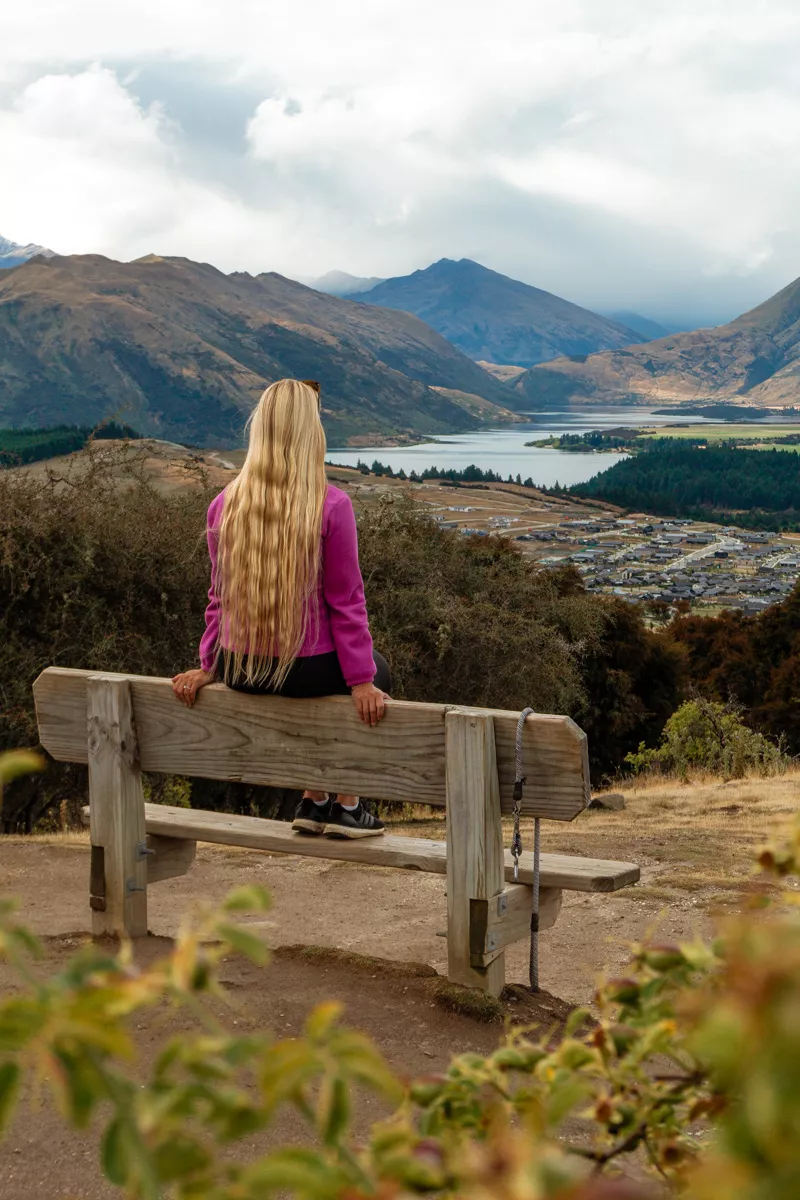
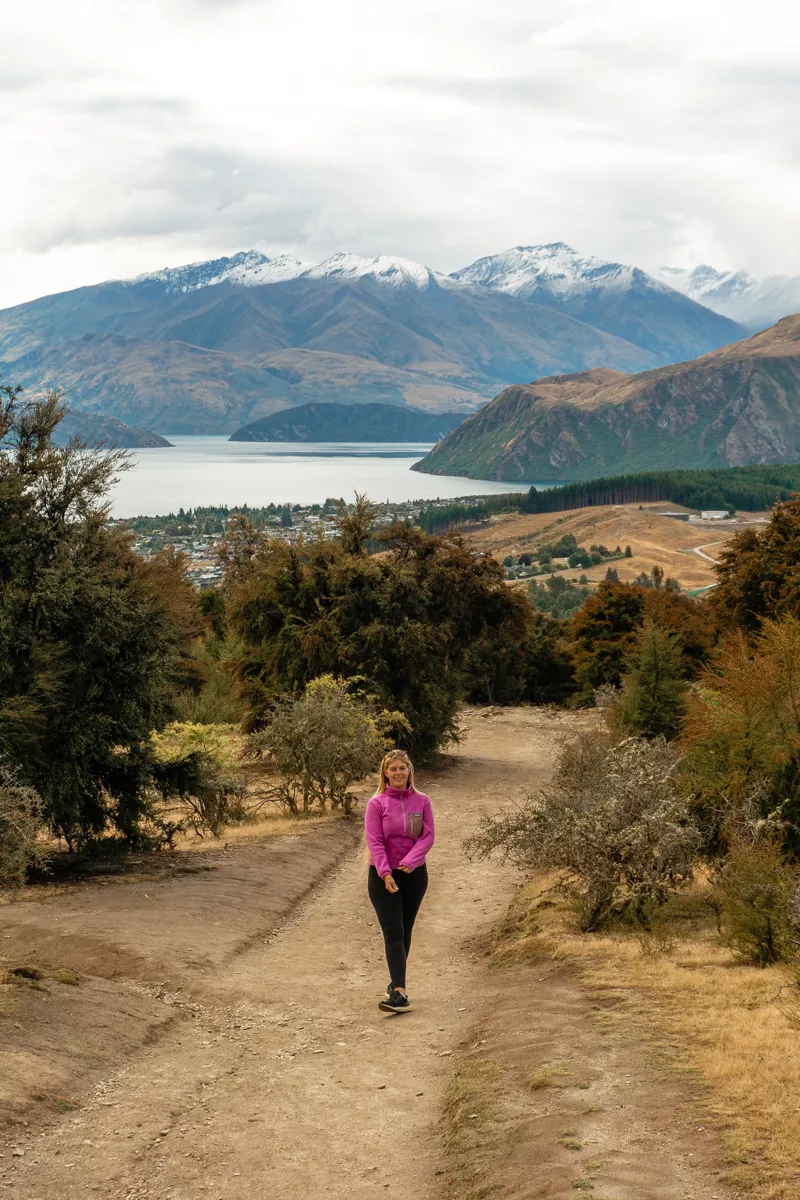
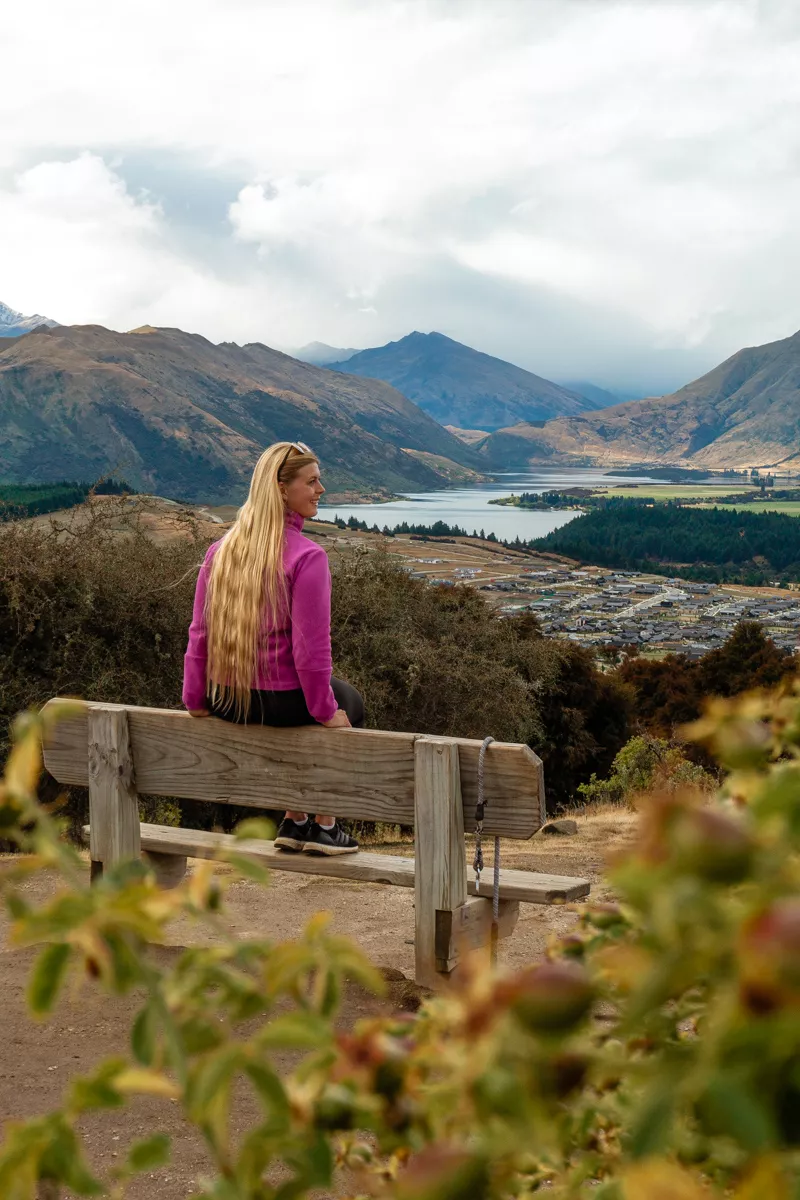
Soon enough the hard work will pay off and you’ll see a bench where you can sit down and enjoy the view overlooking Wanaka. It’s beautiful!
This isn’t actually the peak, but this is where you’ll get the best view of Lake Wanaka and Lake Hawea.
To reach the peak, you’ll have to continue for just a few more minutes, go over the steps by the fence, and then continue to the information stands and the rock formation which shows the different peaks in the area – and then you’re at the peak!!
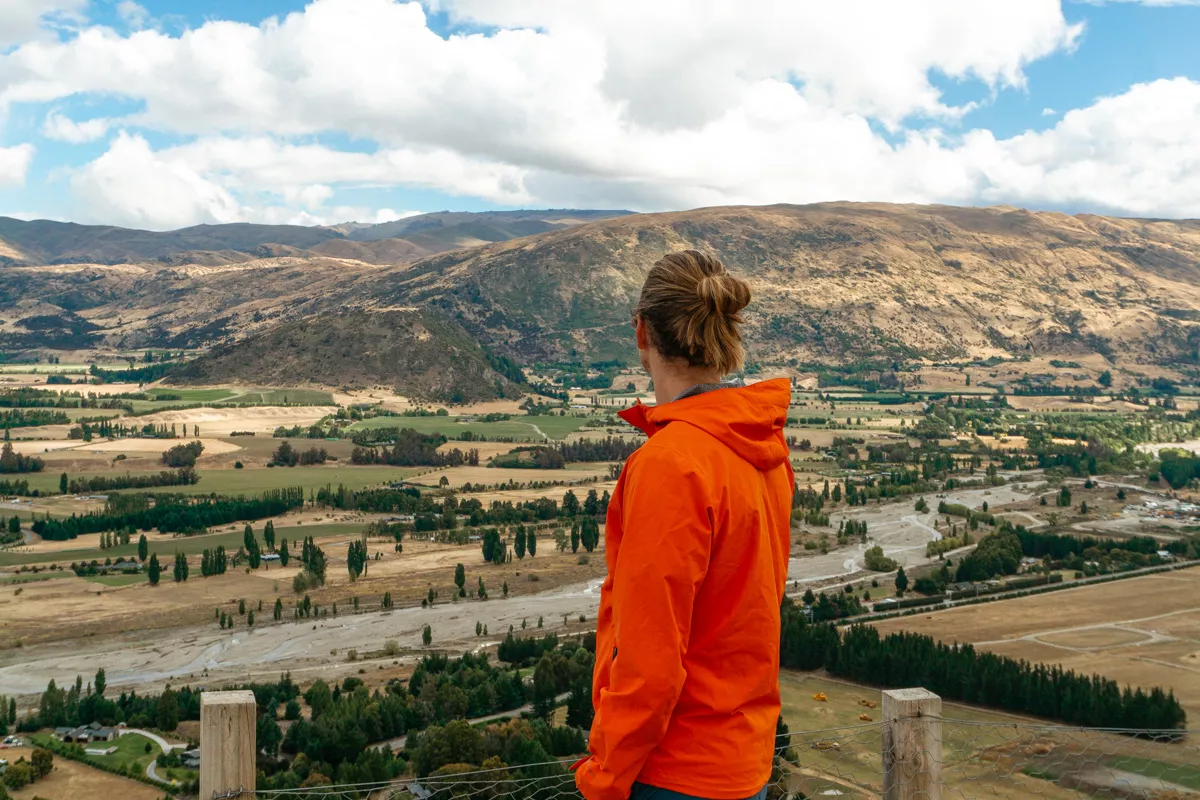
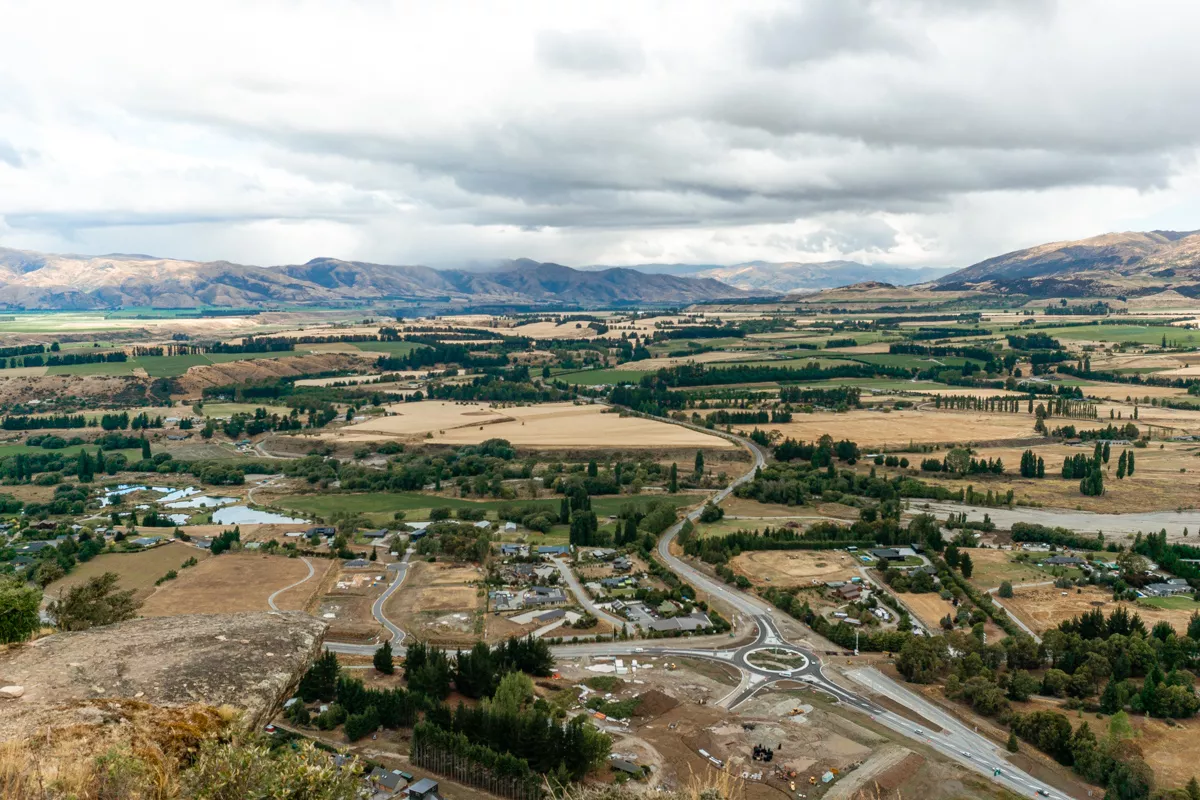
From the peak, you’ll get a full 360-view of Wanaka and the surrounding areas. The view towards the lakes is our favourite but it’s still beautiful to see the neighbouring towns from this little “mountain”.
Continue along the backside of Mount Iron
Once you’ve taken in the view of Wanaka you have two options on how you want to go about the rest of the hike.
The quickest way down is if you go back the same way you came up. You’ll have a nice view of Lake Wanaka in front of you on the way down and this trail is also shorter than if you’re doing the loop trail.
So if you’re limited for time, you can go back the same way you came up.
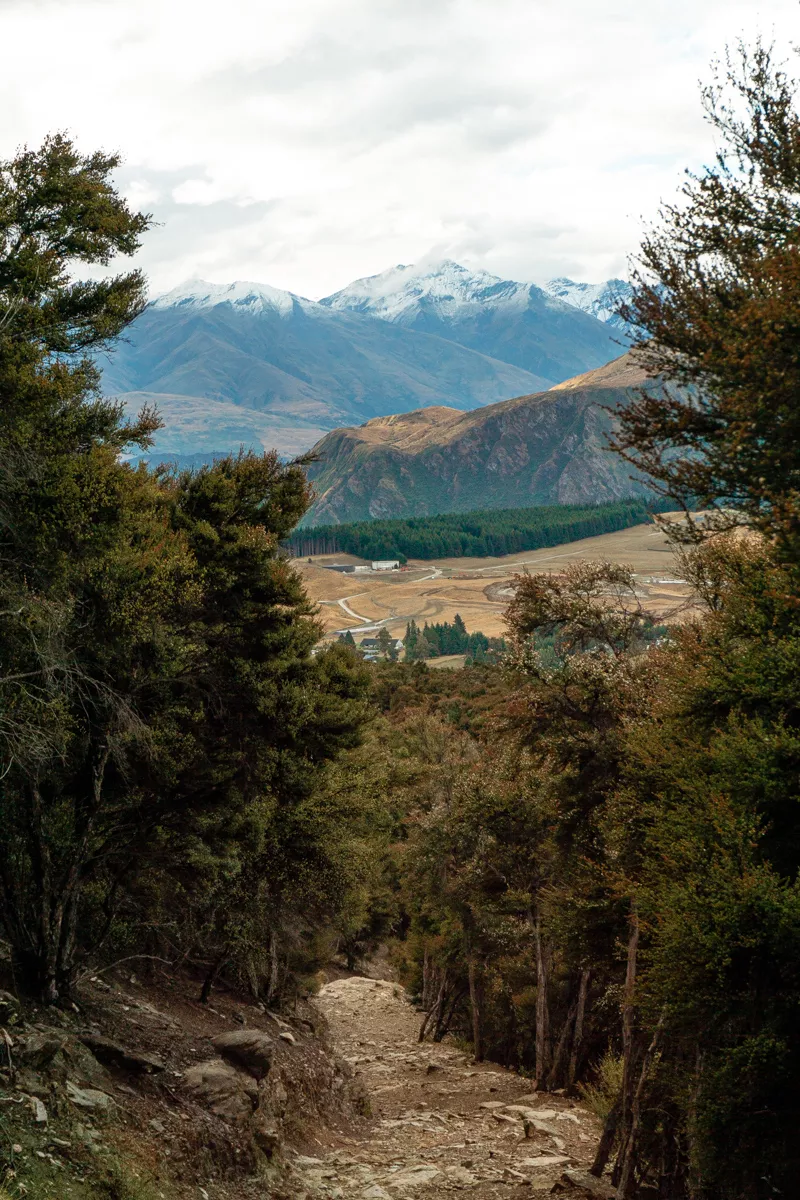
We ended up doing the loop trail and we really enjoyed it even though the best views are definitely on the way up and at the peak. We liked seeing the backend of the mountain and the views this side has to offer.
If you end up doing the loop trail like us, it’s a bit of a steep downhill all the way till you reach flat ground. Once you do, you’ll walk for another 20-30 minutes or so until you get back to the car park.
This last stretch is mostly on a gravel path where you’ll be walking parallel to the highway next to some trees. There aren’t any stunning views on this last stretch but it’s still a nice and easy walk.
📍 Want to know about all the best spots in Aotearoa New Zealand?
Then check out our New Zealand Maps with +200 locations around the country that we have visited during our 8 months of living and travelling in NZ! 🗺️
Before you hike Mount Iron
Check the weather in Wanaka
As a rule of thumb, you should always check the weather before a hike. For Mt Iron specifically, as long as you have a good 2-hour window during your hike, you should be fine!
As long as there’s no rain or thunder in the forecast, you can do this hike. If it’s raining (or has rained recently), the trail will likely be very slippery and it’s best to go on a different day.
You can see the weather forecast for Wanaka here.
The best affordable camera for beginners
If you’re looking for the best and most affordable camera for beginners, check out the Sony Alpha a6000 Camera.
This is the camera we’ve been using for years and still use to this day.
It’s perfect for travelling and super easy to use – even if you’re a beginner.
Wear hiking shoes
We wear hiking shoes or hiking boots on almost every outdoor adventure we do – this one included.
Even though it’s not a very challenging trail there are sections (especially when it rains) that can get covered in mud – and there are a few sections that get pretty slippery.
Good, waterproof hiking shoes are definitely recommended but you can also go in trail runners!
If you don’t have any hiking boots, we highly recommend the Newton Ridge waterproof hiking boots from Columbia. Jo has these ones and she loves them!
Leave no trace
When you go hiking (and do other outdoor adventure activities), always remember to follow the 7 principles of leaving no trace.
This means:
- Plan ahead and prepare.
- Travel and camp on durable surfaces.
- Dispose of waste properly.
- Leave what you find.
- Minimize campfire impacts.
- Respect wildlife.
- Be considerate of others.
Renting a car in New Zealand
For this specific hike, you don’t necessarily need a car if you’re already in Wanaka but to get to Wanaka from Queenstown Airport (or wherever you come from) you probably want to rent one.
We’ve had a car hire here in New Zealand for our whole trip and it’s been really nice and convenient – especially when getting to some of the different trailheads such as Diamond Lake and Isthmus Peak near Wanaka.
The car we booked was through DiscoverCars and we picked it up at Queenstown Airport. DiscoverCars works like a search engine that compares the prices between all the different car rental companies and shows you the best option.
It’s so convenient and we managed to snag an excellent deal for ours ($50 NZD per day including full insurance during peak season).
The longer ahead you book your car, the more likely you are to find a good deal. You can find and hire your rental car for New Zealand here.
We rented an SUV that was big enough for us to sleep in sometimes so we could save some money on accommodation and sleep in some more remote places!
There are some great campgrounds in and around Wanaka so you can easily spend the night at one of those and save on accommodation – especially during peak season when it gets really expensive here in the Otago region of New Zealand.
PS: DiscoverCars doesn’t just work from Queenstown Airport. It can be used at pretty much any airport or city in the World. We’ve also used them in Italy, Portugal, and the Czech Republic.
When is the best time to hike Mount Iron?
The best time to hike Mount Iron is 100% on a clear, sunny day during the summer season. While the season doesn’t matter as much (since Wanaka is beautiful year-round), if it’s raining or snowing it’s best to skip out on the hike.
The trail can get quite muddy in the rain and the view from the top of Mount Iron is arguably the best part of the hike so you don’t want that spoiled on a cloudy day.
You’ll likely find people on the trail any time of the year although the summer season will be slightly more busy as it’s the peak season for international tourists.
In terms of time of day, it’s best to go in the morning to avoid the crowds. Late afternoon is probably when it’s the busiest.
Also, as we mentioned before, it can be quite fun to go up for sunrise or sunset!
How to get to Mount Iron Track in Wanaka
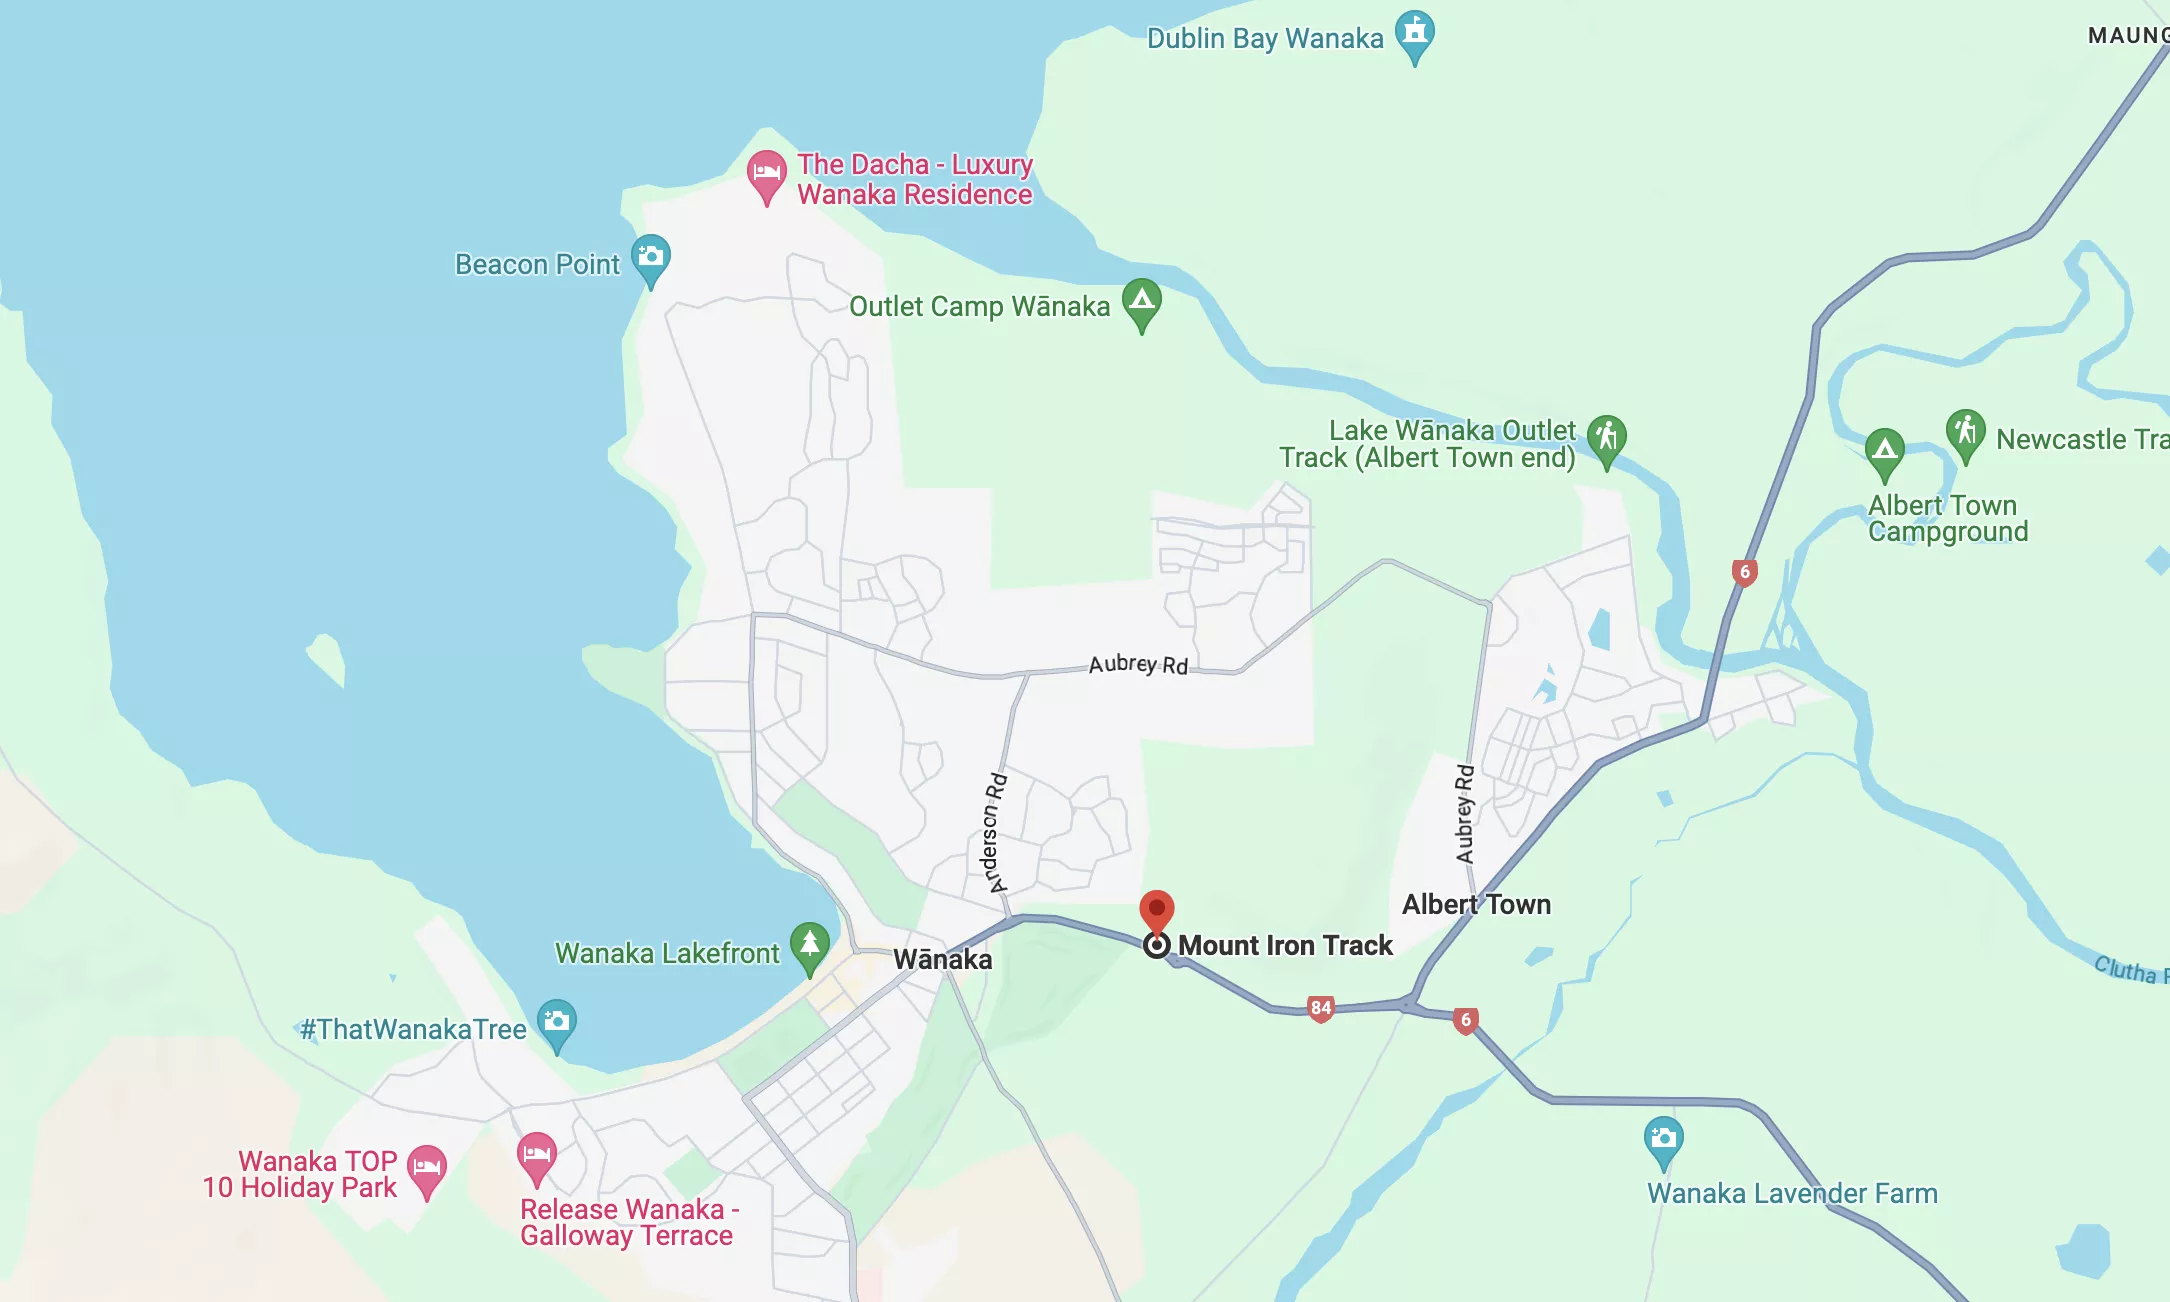
One of the best parts of this hike is that it’s easily accessible from Wanaka and you can even walk to the start of the hike if you don’t have a vehicle.
From Wanaka to Mount Iron trailhead:
- It’s roughly a 5-minute drive from Wanaka to the Mount Iron trailhead (or a 20 to 30-minute walk).
- You can find the directions here.
Queenstown to Mount Iron trailhead:
- It’s just over an hour’s drive from Queenstown to the Mount Iron trailhead.
- You find the directions here.
You may also like…
Recap of hiking Mount Iron in Wanaka
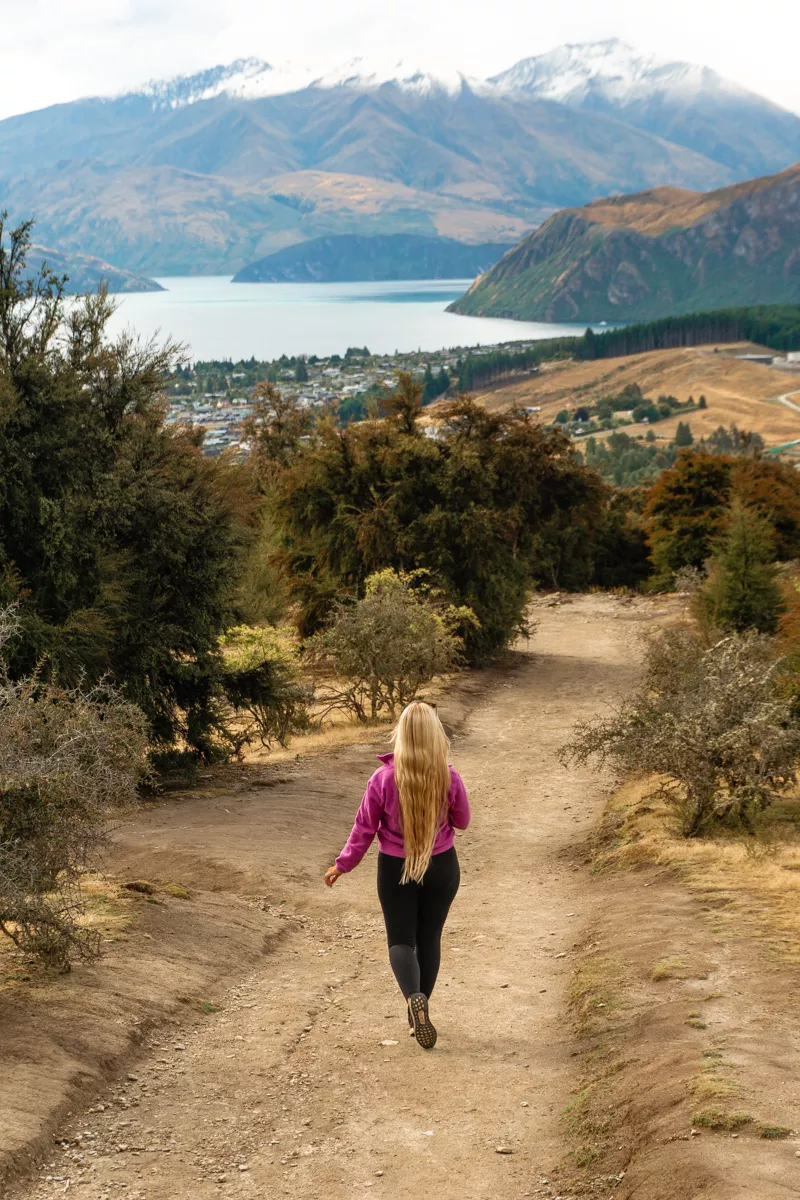
Hiking Mount Iron is one of the best things to do in Wanaka and it offers one of the best views overlooking the town and the lakes.
It’s a much shorter and less challenging hike than some of the other hikes in the area such as Roys Peak and Isthmus Peak – and the location is also more convenient!
We hope you have the best time hiking this local gem right here in Wānaka. It’s one of our favourite areas in New Zealand and hopefully soon to be yours too!
If you have questions about hiking in Wanaka, things to do nearby, or the best places to stay in town, feel free to DM us on Instagram or leave a comment below.
📍 Save this post for later & share it with a friend
